Create a 3D Gear using CorelDRAW’s Extrude Rotation Effect - For many versions now, CorelDRAW has included extrusion features that enable to apply depth to a single object and rotate it interactively. While it’s far from 3D modelling, it certainly presents some interesting creative possibilities for drawing objects that would otherwise be challenging to manufacture using manual methods. In this next tutorial, I’ll show you how to use 3 ordinary objects to manufacture a single curve that can be extruded and rotated in simulated 3D for some very impressive results. It takes only a few clicks, but you’ll need to follow the instructions precisely to be successful. Let’s get started:
1. Download the CorelDRAW file I’ve provided here.
2. Open the 3D Gear.CDR file contained in the Zip archive and open it in CorelDRAW. (Note that this is a CorelDRAW X6 file.)
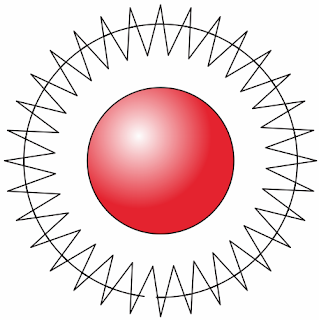
3. We’ll start by creating a gear shape using the three objects on the page (shown next). Using the Pick Tool, hold your Shift key down and click the large ellipse and then the large polygon (in that order).
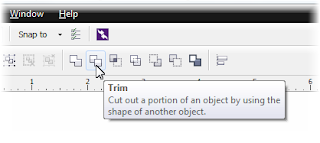
4. With both objects selected, click the Trim button in the Property Bar (shown next). This will trim the star points of the polygon using the ellipse as the trimming path.
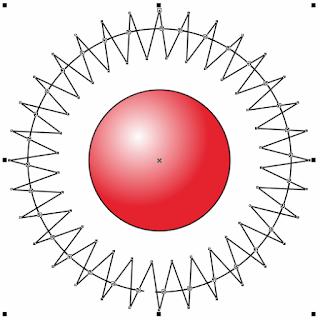
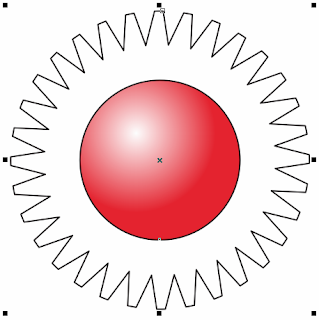
5. With the newly trimmed object still selected, press Ctrl+K (the Break Apart command). This will separate the trimmed portions from the main object (as shown next).
6. Deselect all objects by clicking on a blank part of your page using the Pick Tool. Hold your Shift key down and click to select the large polycom portion and the red ellipse. Cut (Ctrl+X) these two objects to your clipboard.
7. Delete the unwanted portions that remain on the page by pressing Ctrl+A then Delete.
8. Paste (Ctrl+V) the two objects from your clipboard back onto the page (shown next).
9. Deselect all objects (click a blank area on your page). Hold Shift and click the large object then the red ellipse (in that order). Both objects should now be selected.
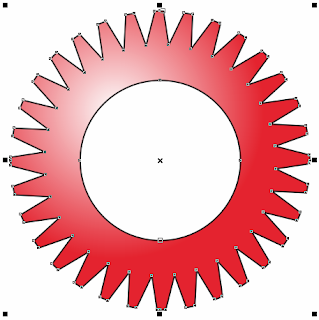
10. Use the Combine command (Ctrl+L) to combine the two objects into a single compound path. The new object will take on the fill properties of the ellipse. You now have the basic gear shape created (shown next).
11. Choose the Extrude Tool from the Toobox (shown next).
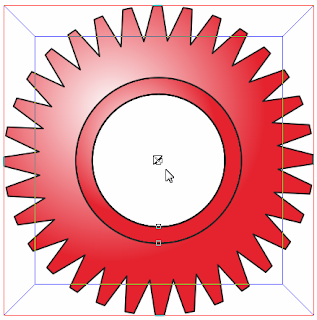
12. Using a click-drag action, click from a filled part of the object directly to the center of the open area. Although it doesn’t look like much yet, you have applied a default extrusion to the object.
13. With the Extrude Tool selected, click once directly on extrusion portion – that’s the small red ellipse object in the center of the arrangement (as shown next).
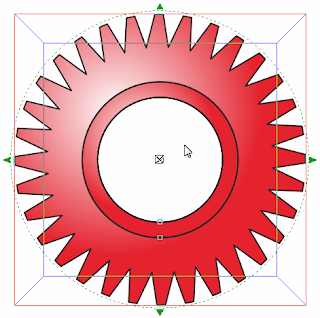
14. Notice that your object now features a series of circles and squares around it. These represent the extrude rotation interface (shown next). Your cursor has also changed to rotation cursor.
15. Using a click-drag action, click anywhere inside the circle and drag in any direction. Notice how the original object and the extruded portions rotate in three dimensions (as shown next).
16. Using a click-drag action, click anywhere outside the circle and drag in any direction. Notice how the original object and the extruded portions rotate in a circular direction only.
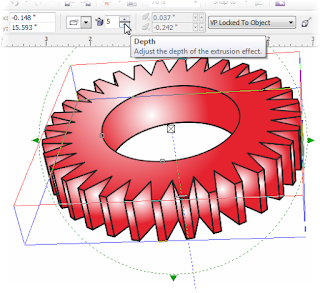
17. Note that although the extrusion is rotated, you can still control the depth of the extrusion. To demonstrate, let’s set the extrusion depth to 5 using the Depth option (shown next).
18. One of the cool things you can do with extrusions is to convert them to ordinary objects by breaking apart and ungrouping (Ctrl+U) the extrude portions. To do this, click to select the extrude portion of the effect and use the Break Apart command (Ctrl+K). Then, choose the Pick Tool, click the resulting group of objects and click the Ungroup All button in the Property Bar (as shown next).


No comments
Your Comment Here..!